Pfsense installation and configuration
pfSense installation
Download and create a bootable pfSense USB based installer
First go to https://www.pfsense.org/download/ to download the latest version of the pfSense installer. The current version is 2.44. The installation of other versions is similar.
Download the 64-bit pfsense ISO installation file and use the UltraISO software to write the ISO file to a USB flash drive of 2G or higher for installation. If you have an optical drive, you can also directly burn the disc and install it with an optical drive. It can also be installed directly using WINPE, which I will cover in another article.
Set the BIOS for easy pfSense installation
· Turn off the AHCI function of the motherboard and select the ATA disk mode.
· Disable other features that are not used.
Installation
Plug the USB drive into an available USB port and boot the system from the USB drive. Depending on the motherboard, you need to use different function buttons to select boot options or set the boot menu in the BIOS to boot the USB flash drive.
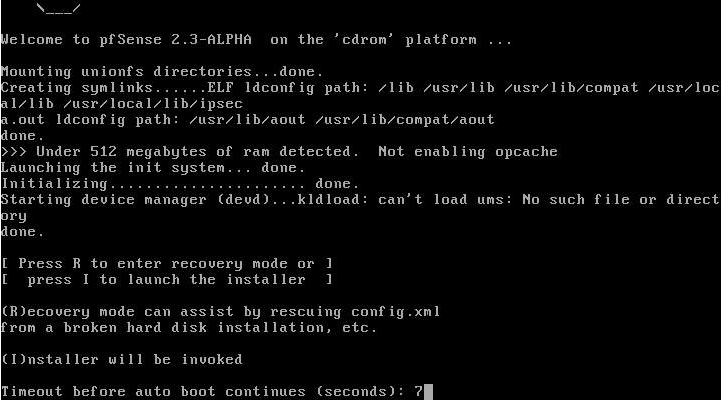
After a short wait, you will see a prompt, press "I" to start the installer and will start installing pfSense to your local hard drive.
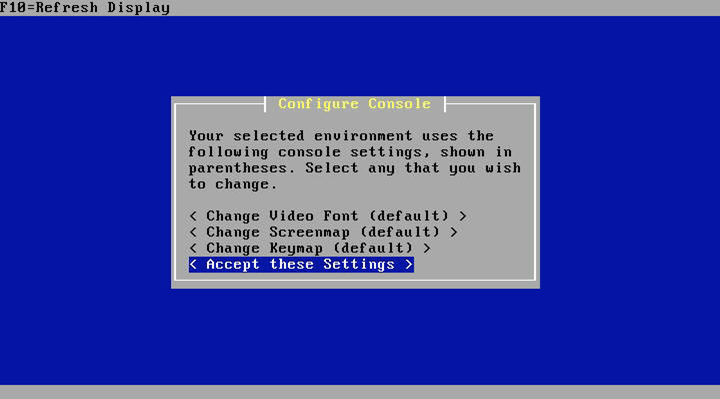
Configure Console
The first screen will be displayed and the console settings can be modified. Select ‘Accept thesesettings’.
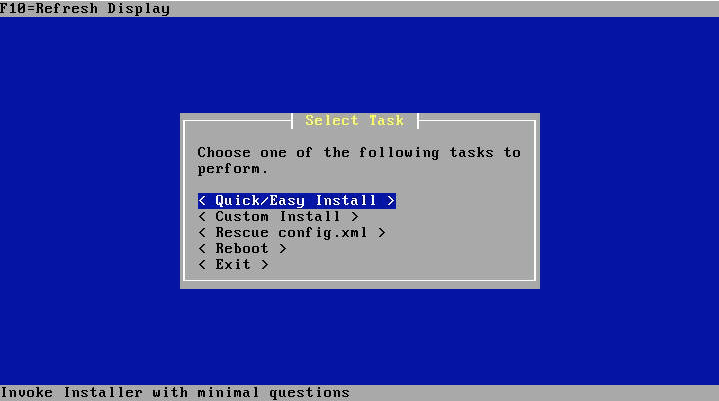
Select Task
If you are installing to the first hard drive in your system, select "Easy Install". Custom installations can select specific disks and customize initialization options.
Once confirmed, the installer will continue to format and copy the pfSense file to your local hard drive.
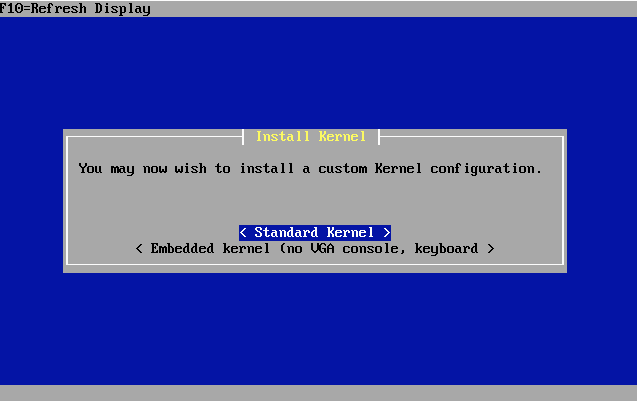
Install Kernel
When prompted to install the kernel, select "Standard Kerne".
Reboot
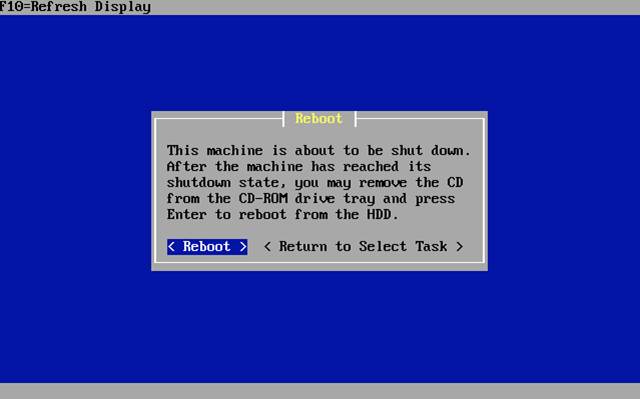
After a short wait, you will see a reboot option. Select "(Reboot)", when the system reaches the appropriate state (preferably before the reboot is complete, before booting again), remove the USB boot disk and boot from the system disk.
Initial Configuration
After restarting, wait a few minutes and you will see the screen below.
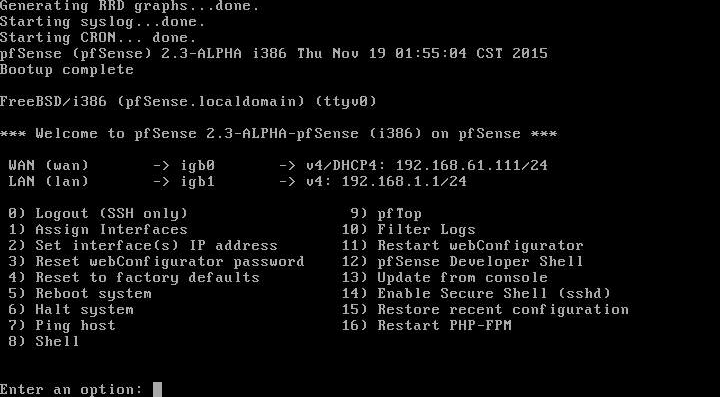
By default, the installer configures the first NIC to be the WAN port that obtains the address via DHCP, configures the second NIC as the LAN interface, and configures the address to be 192.168.1.1. The LAN interface will enable the DHCP service. If the PC is connected to this port, the IP address is automatically obtained, and the address of the same network segment as the LAN is automatically obtained (can also be set manually), so that we can access the GUI to continue the subsequent configuration.
First login
Open a browser and enter http://192.168.1.1 in the address bar. You should see the login screen shown below.
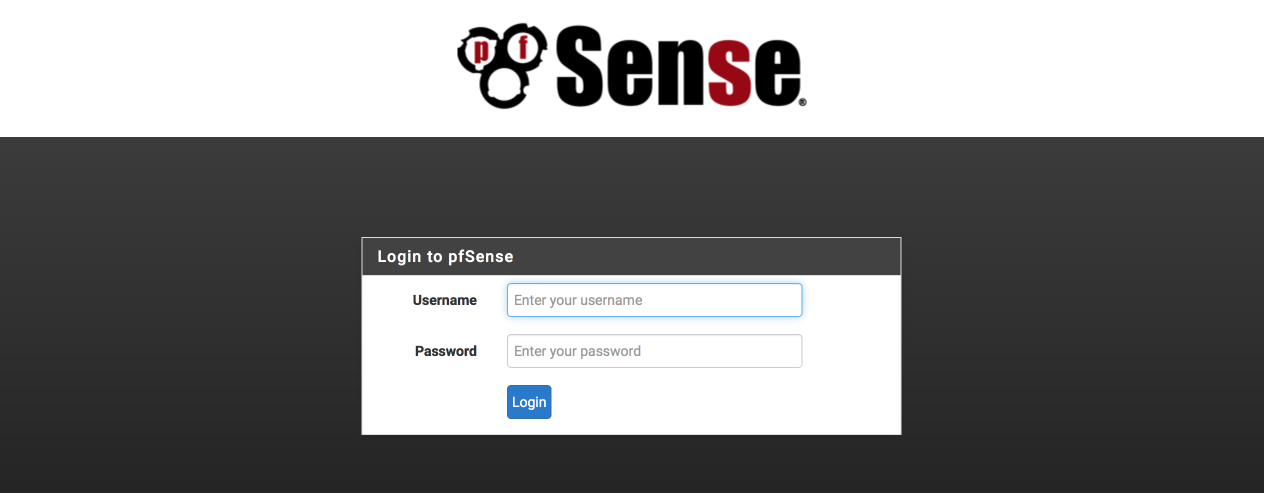
Enter the username "admin" and the password "pfsense" to log in.
pfSense wizard setup
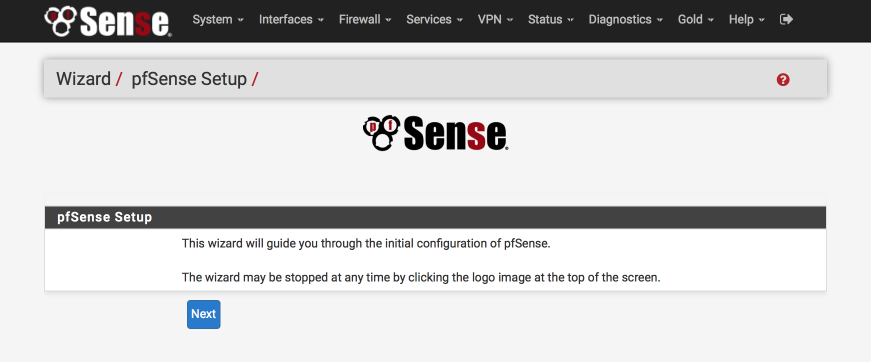
The wizard will guide you through the initial configuration steps.
Choose Next to start.
Bling your pfsense with pfSense gold
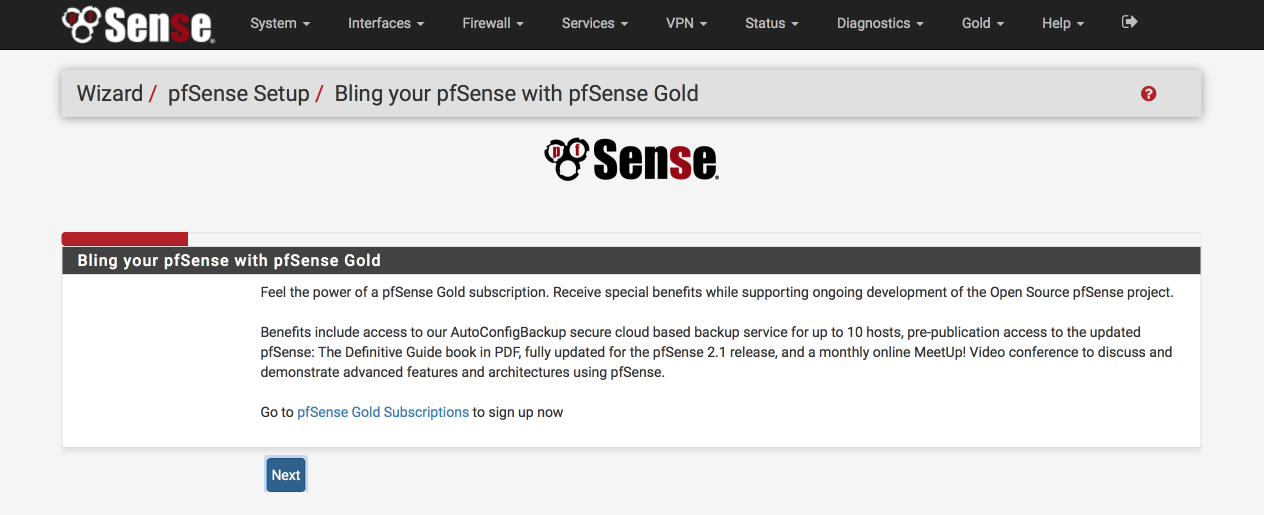
This page shows you will be given the opportunity to purchase a pfSense gold subscription (of course, it will cost money, or US dollars, skip), including automatic backup, regular video conferences, etc. In fact, the most important is the pfsense guidebook, which sells 100 More dollars.
Select "Next" to continue.
General Information
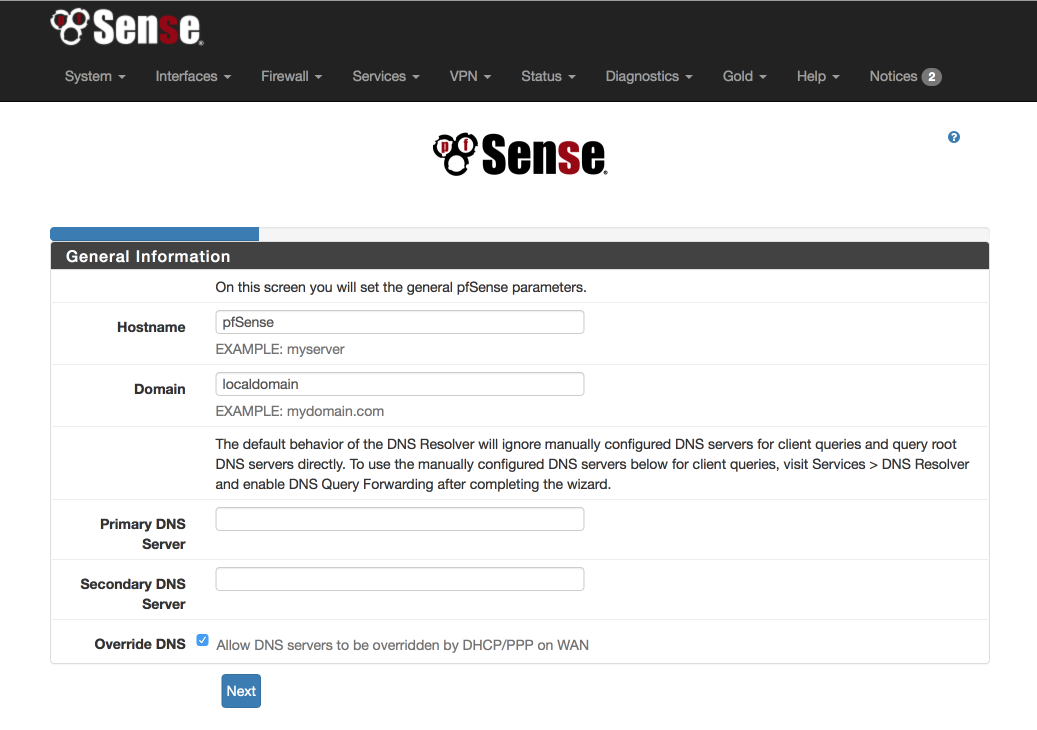
Configure this page as specified below. We will use the OpenDNS server for initial DNS resolution.
· Hostname: pfSense
· Domain: local.lan
· Primary DNS server (first DNS): 208.67.222.222
· Secondary DNS server (second DNS): 208.67.220.220
· Allow DNS to be over ridden on WAN: unticked
· Select Next
Configure NTP
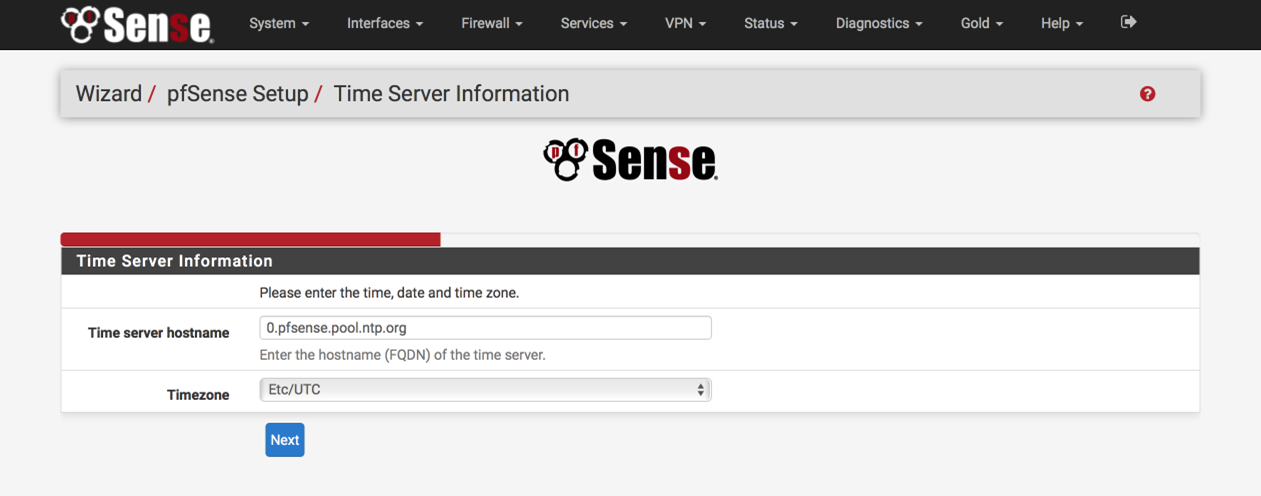
The default time server hostname usually does not need to be modified, the time zone must be set to your own location
· Time server hostname: 0.pfsense.pool.ntp.org
· Timezone: Set according to your actual situation
· Select Next
Configure WAN Interface
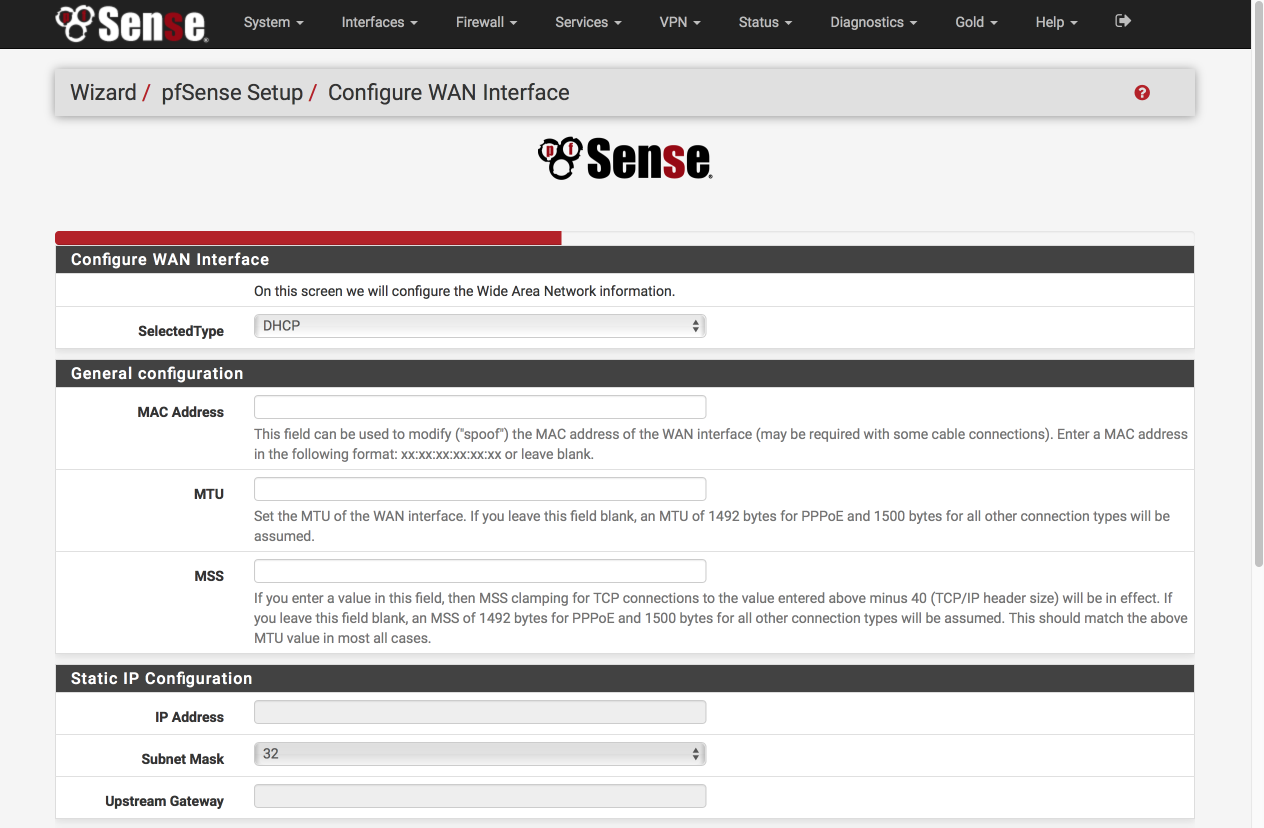
Configure this page as follows. Most options will remain in their default state, which is empty.
Configure WANInterface
· Selected Type: DHCP
Others keep the default settings on it. If it is a fixed IP Internet access, or DHCP dial-up Internet access, select the correct type on the "Selected Type" and set the parameters correctly below.
RFC1918 networks
Block RFC1918 Private networks: [√] selected
Block BOGONnetworks
Block bogon netwoks: [√] selected
Select next tocontinue
Configure LAN Interface
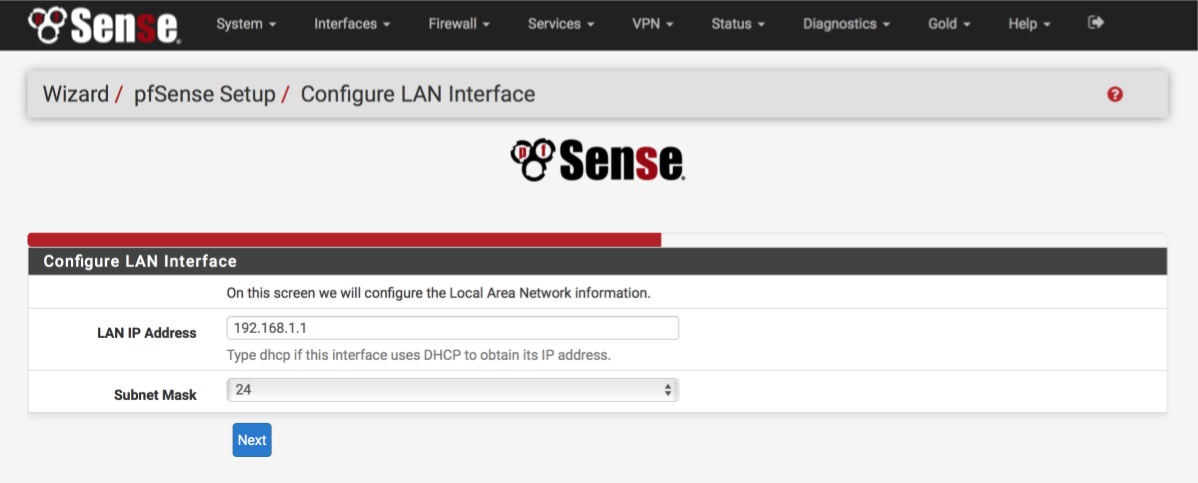
If necessary, give the LAN interface a specific address here. Here we reserve no modifications for 192.168.1.1.
· LAN IP address: 192.168.1.1
· Subnet mask: 24
Select Next to continueue.
Set Admin WebGUIPassword
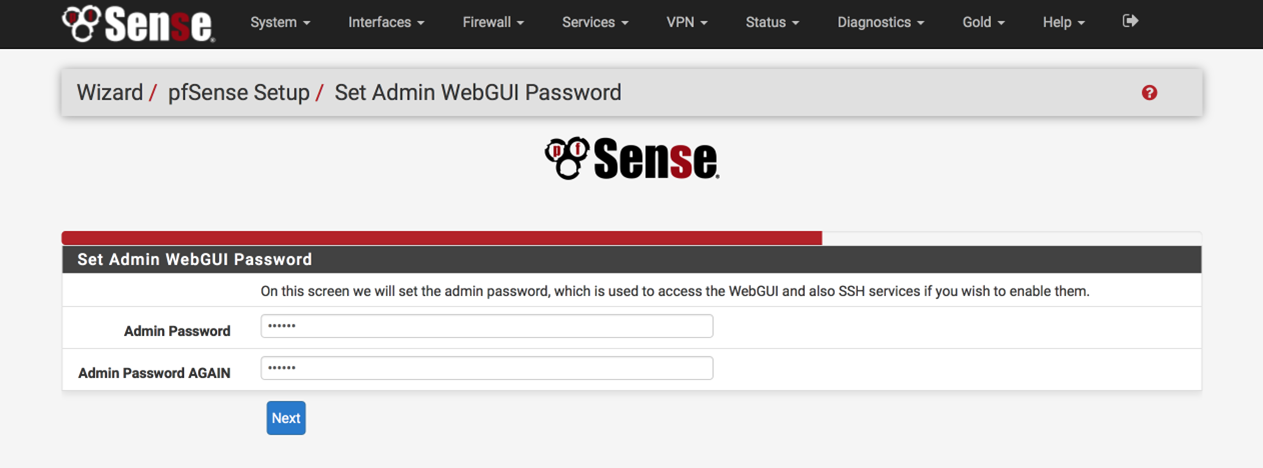
Set up a complex password to protect against unauthorized access to the web interface.
· Admin Password: a strongpassword
· Admin password again: a strongpassword again
Select Next to continueue.
Enter thedashboard…
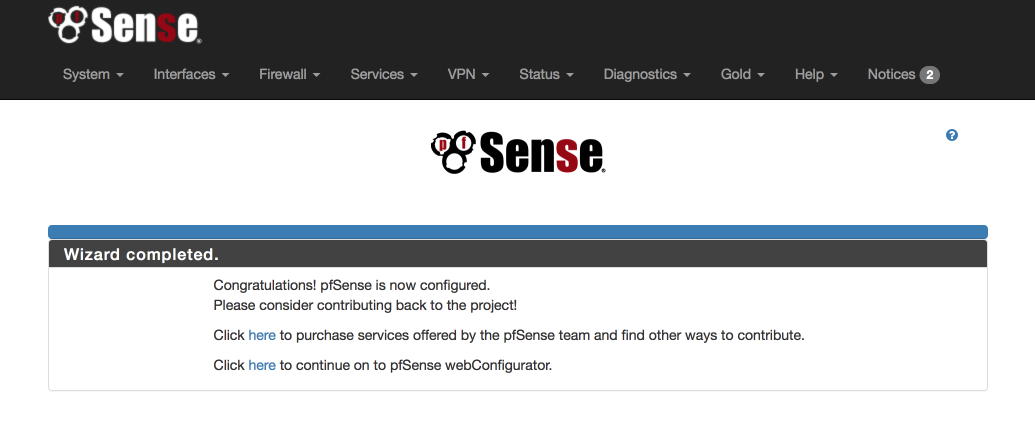
Click on "Here" to enter pfsensewebConfigurator and you will see the system panel, we will configure the rest of the system.
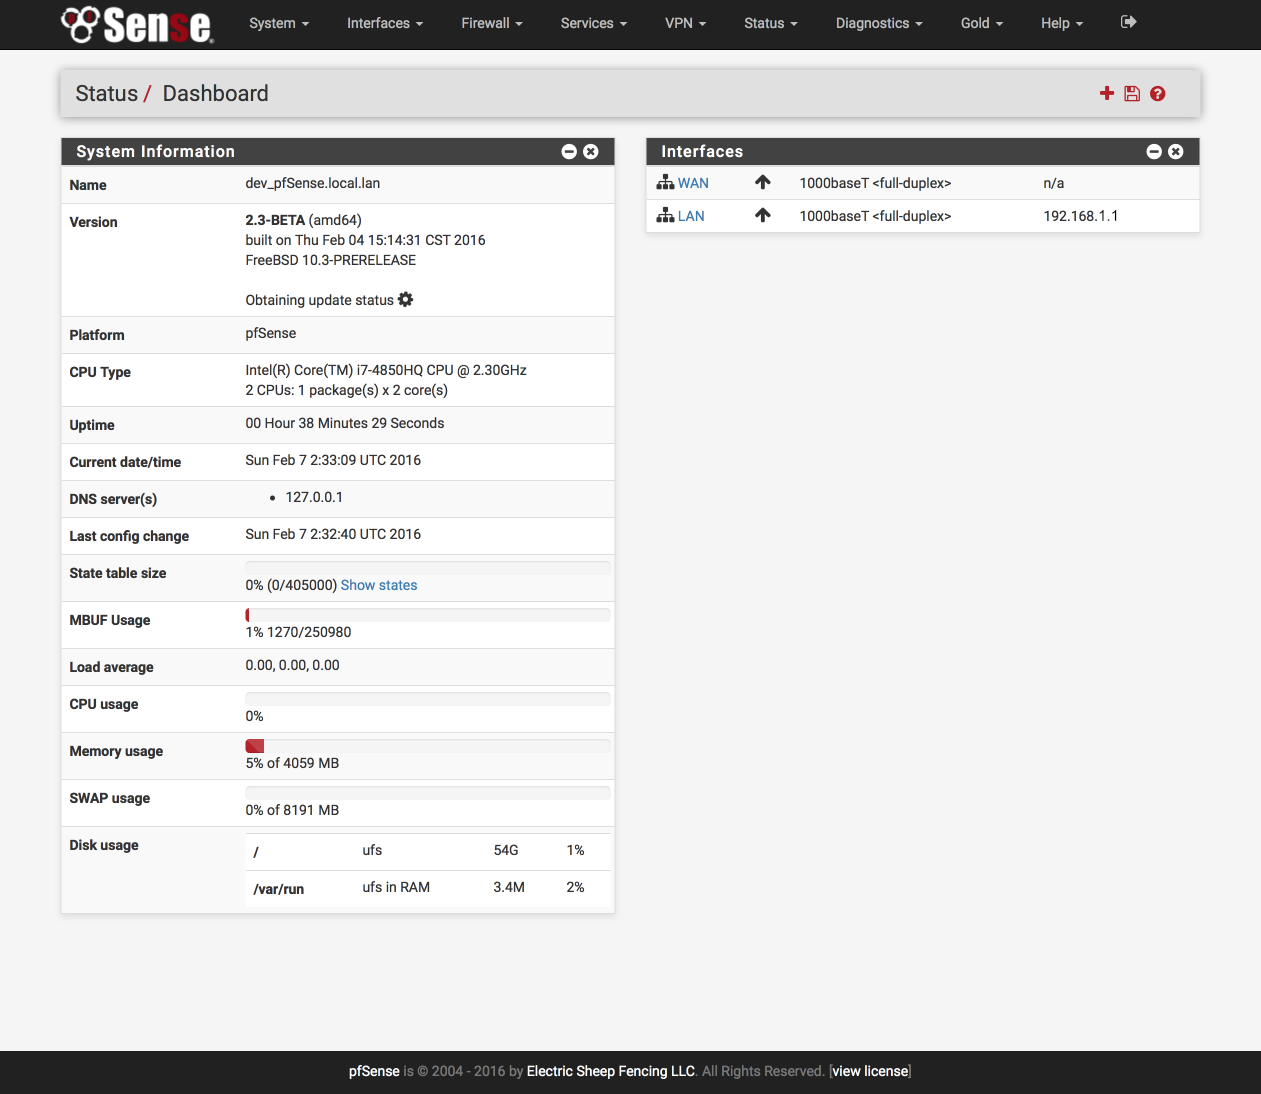
Admin access configuration
We will first set some general configuration options using the menu bar at the top of the page.
Navigate to System > Advanced > Admin Access
Web Configurator
For added security, you can set GUI access via HTTPS and select a port other than 443. One of the reasons for using 445 is to ensure that we can generate secure anti-locking rules, which will prevent us from locking ourselves out of the GUI. The corresponding firewall rules are created.
· Protocol: HTTPS
· SSL certificate: webConfigurator default
· TCP Port: 445 (or other port you specify)
· Max processes: 2
· WebGUI redirect, Disable webConfigurator redirect: [√] selected
· WebGUI login autocomplete, Enable webConfigurator login: [ ] not selected
· Anti-lockout: [√] DisablewebConfigurator anti-lockout rule
We can disable the system anti-locking rules because we will create managed rules during the installation process.
Firewall/NAT configuration
Navigate to System > Advanced > Firewall/NAT
Firewall Advanced
· Firewall Optimisation options: conservative. Tries to avoiding legitimate idle connections at expense of memory and CPU utilisation, you can also choose "normal", others are not recommended.
· Firewall Maximum States: 1633000 (automatically generated according to the computer configuration, can also be manually modified, the configuration is too low, it is not recommended to change too much, which is related to memory)
· Firewall maximum table entries: 200000 (automatically generated according to computer configuration, can also be manually modified)
Bogon Networks
· Update Frequency: Weekly
· Click Save
Miscellaneous configuration
Navigate to System > Advanced > Miscellaneous
Power Savings
· Use PowerD: [√] selected
· on AC: HiAdaptive
· on Battery: HiAdaptive
· unknown Power: HiAdaptive
CryptographicHardware Acceleration
Select the following only if you are using an Intel processor. If you are using an AMD processor, use other options.
· Cryptographic hardware: AES-NI CPU based Acceleration
· Temperature sensor: Intel Core CPU on-die thermal sensor
· Click Save.
Well, the installation of pfsense probably is about this. After these settings, the computer in the LAN can already access the Internet normally, but to ensure the reasonable use of the network, you have to do some other more complicated settings.
Shenzhen KANSUNG Technology Co., Ltd. is mainly engaged in Mini Pc motherboard and Mini Computer. Its products are widely used in ATM, VTM equipment, financial terminals, media players, communication self-service equipment, medical equipment, network security equipment, commercial POS machines, lottery machines, terminals. Equipment, one machine, advertising machine, digital signage and other industries.


